-
United States -
United Kingdom -
India -
France -
Deutschland -
Italia -
日本 -
대한민국 -
中国 -
台灣
-
Ansys는 학생들에게 시뮬레이션 엔지니어링 소프트웨어를 무료로 제공함으로써 오늘날의 학생들의 성장을 지속적으로 지원하고 있습니다.
-
Ansys는 학생들에게 시뮬레이션 엔지니어링 소프트웨어를 무료로 제공함으로써 오늘날의 학생들의 성장을 지속적으로 지원하고 있습니다.
-
Ansys는 학생들에게 시뮬레이션 엔지니어링 소프트웨어를 무료로 제공함으로써 오늘날의 학생들의 성장을 지속적으로 지원하고 있습니다.
Ansys Blog
April 11, 2019
Simplify Inspections of Additive Manufactured Parts with CT Scanning and Mechanical Simulation
Quality assurance inspections prove that additive manufacturing (AM) a perfect part is a lot harder than many engineers thought.
AM is a layer-by-layer production process where minor defects, uneven cooling, internal stresses and sub-optimal printing settings can doom a part to the scrap heap. Worse yet, these defects might be so hard to find that a sub-optimal part could be put into service.
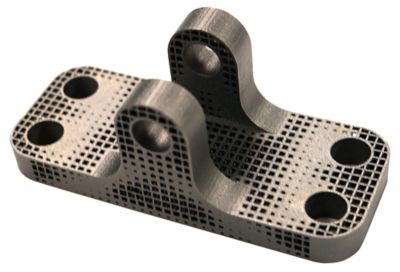
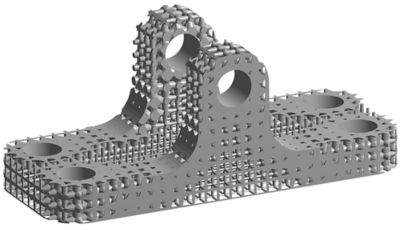
A bracket’s lattice structure
that was built using additive
manufacturing
One reason why part inspection is becoming harder is because AM has enabled engineers to design more complex geometries.
For instance, lattice- and topology-optimized geometries can maximize a part’s strength-to-weight ratio. However, these geometries make traditional nondestructive testing impossible to perform since the surface finish of the part can obscure details — like a lattice infill.
Engineers need a consistent and accurate part inspection workflow to optimize the quality assurance of their AM parts. One option is a quality assurance inspection workflow that has been created by Ansys, Synopsys and North Star Imaging (NSI). This workflow takes as-manufactured scan data from computed tomography (CT) to obtain a full 3D volume of a part. Synopsys Simpleware then transforms the CT data into a mesh that can be validated in Ansys Mechanical.
How to Perform Part Inspections with a CT Scanner and Ansys Mechanical
So, how can engineers validate a complex metal component that is fresh off the AM build plate?
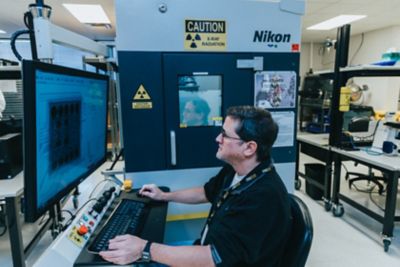
The first step is to capture the part’s geometry. NSI explains that a CT scanner can capture a full 3D model of a complex lattice bracket in a few minutes to a few hours — depending on the size, geometry and density of the component.
Model of a bracket’s lattice structure
The next step is to use Synopsys Simpleware software to process the layer-by-layer imaging data from the CT scan. The software can highlight points of interest in the model — such as areas where the as-manufactured and as-designed parts differ. More importantly, Simpleware software can create a 3D digital model from the scan data. The model can then be meshed into volumetric finite elements.
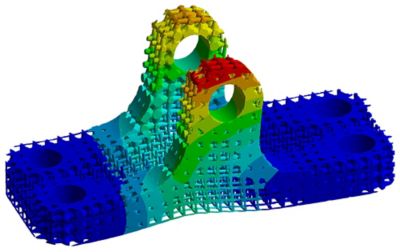
Mechanical can then import the 3D mesh from Simpleware software. The structural simulations created in Mechanical can be done much faster than physically testing the printed part. Therefore, these simulations can be an important part of the validation and certification process.
Structural simulation of a bracket’s lattice structure
If the as-manufactured part passes the validation simulations, everyone is happy. If the part doesn’t pass inspection, engineers can investigate the root cause of failure using tools like Ansys Additive Suite.
To learn more about how to implement the quality assurance inspection workflow created by Synopsys, NSI and Ansys, watch the webinar Get More from Industrial Additive Manufacturing: New Solutions for CT-based Inspection & Simulation.


